

Red Sands Fort
The Control Tower
Page 3 of 3
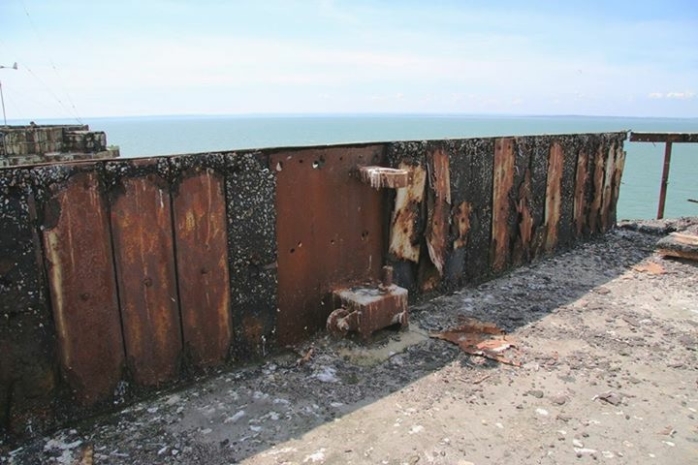
61. Main Mast Flag Pole Bracket
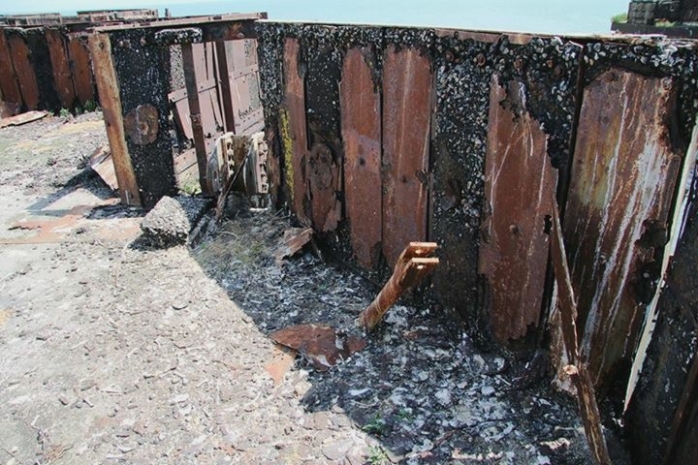
62. Reinforced Steel Shuttering
Note: The steel around top of the Fort was covered with tar & stone to absorb any shell hit
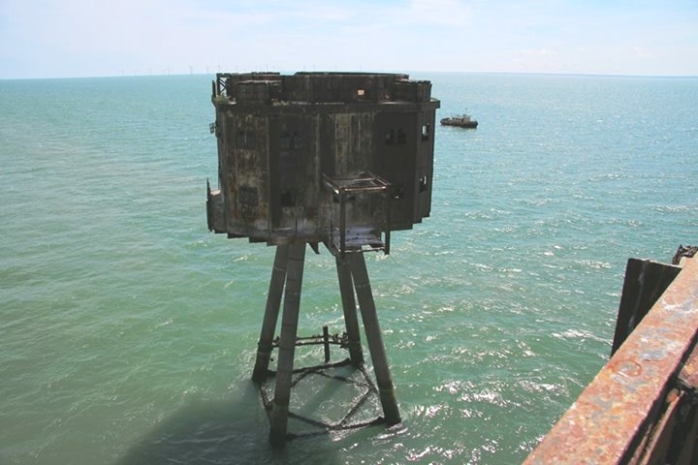
63. G2 from Roof
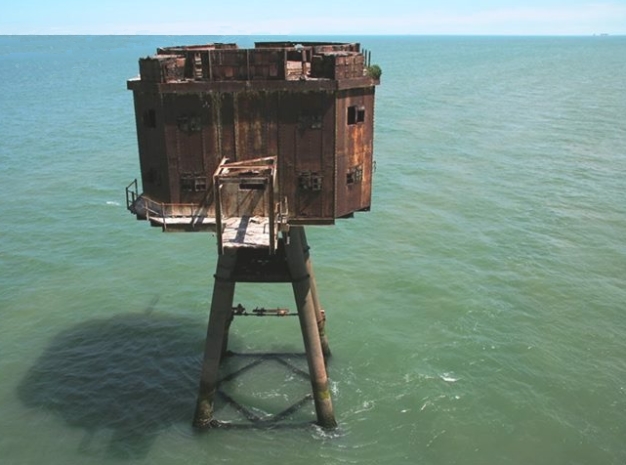
64. G3 from Roof
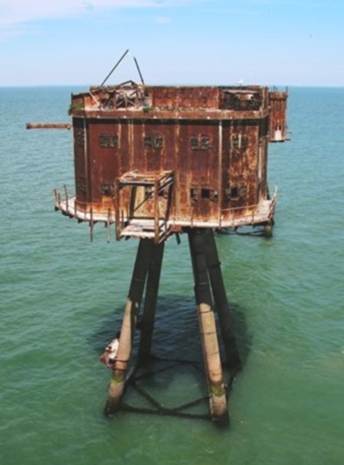
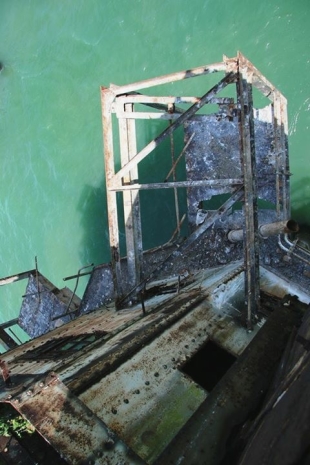
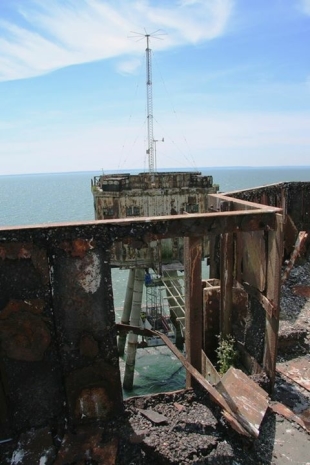
65.
G4 from Roof |
66.
G2 Catwalk Roller Connection |
67.
G1 from Roof |
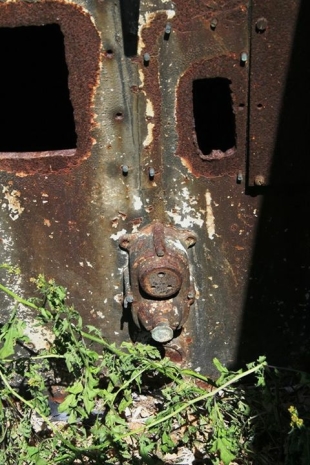
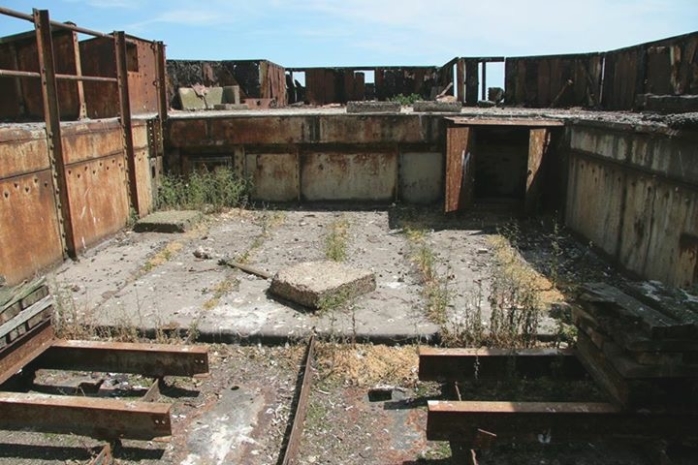
| 68. 5 Amp Mains Socket & Roof Light Switch | 69.
Control Tower Wing looking North |
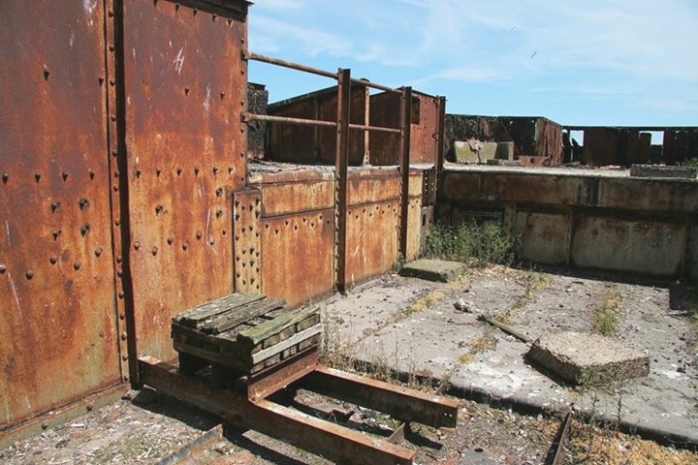
70. Control Tower Wing looking North West
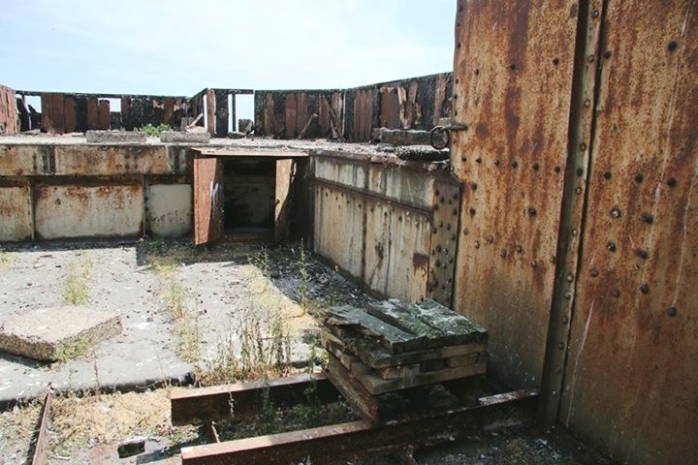
71. Control Tower Wing looking North East
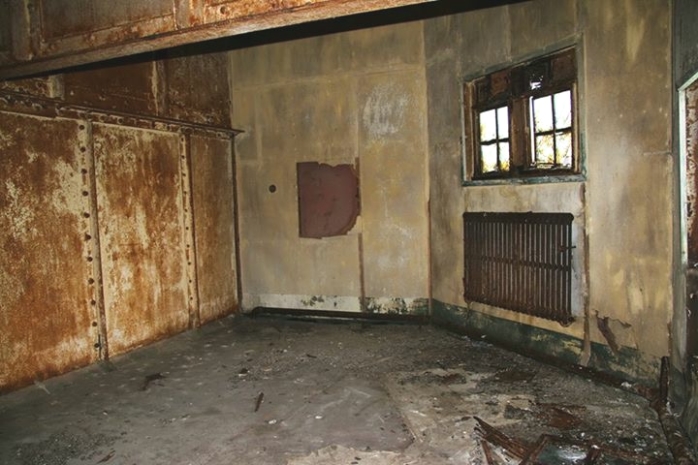
72. Plotting Room
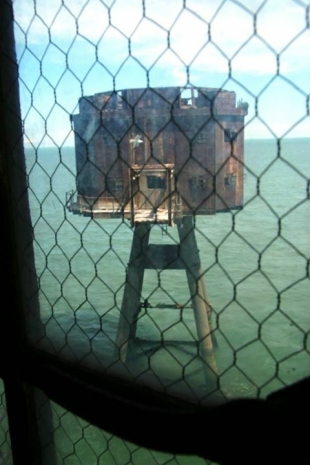
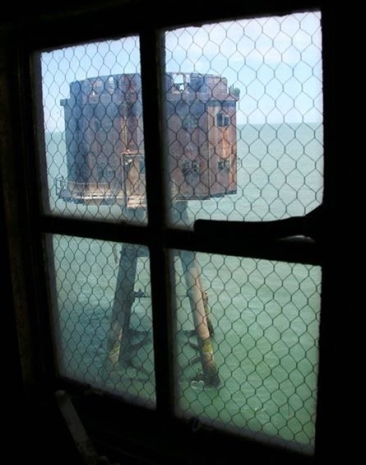
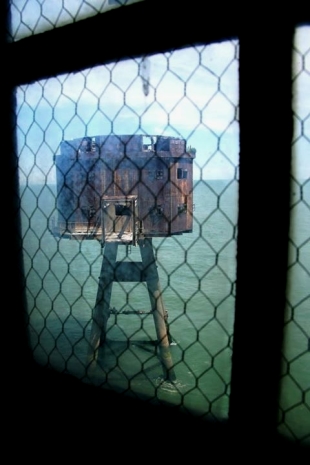
73. & 74. & 75. G3 from Plotting Room
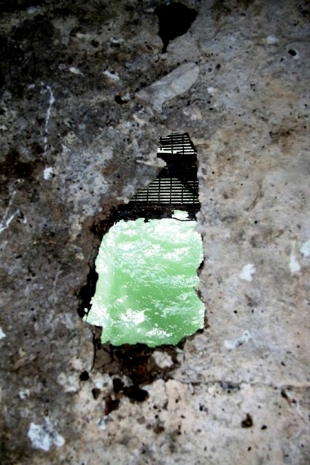
76. Hole through to mid-staging from Intermediate Door Area
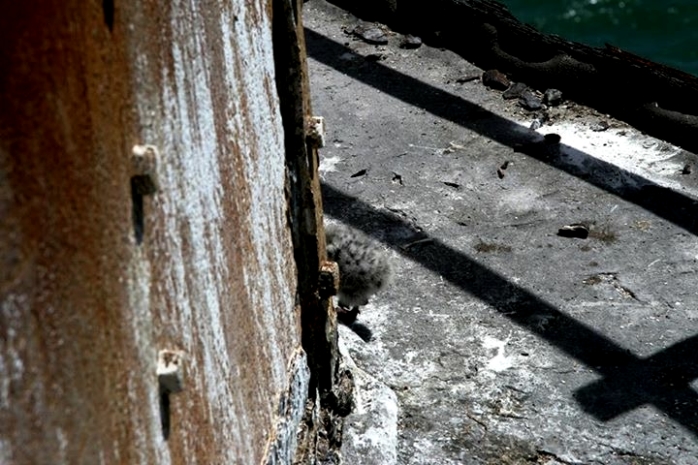
77. Walkway from bottom level door
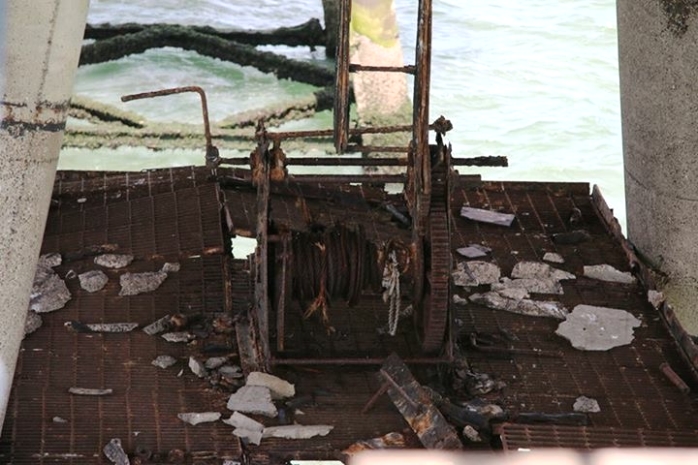
78. Mid-staging winch
Note: Also see image 28
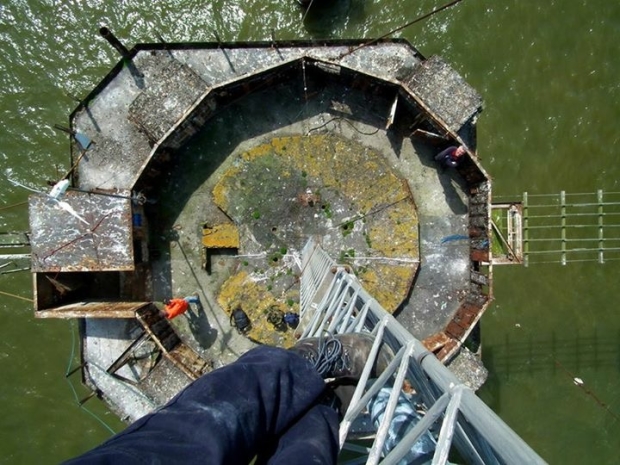
79. From the top of the Red Sands Radio Antenna
Before you leave this page check out this Control Tower Video Clip shot on 11th October 2014

Details of X-Pilot Sailings